

Get Started With IntelliAI
This doc walks you through installing IntelliAI, signing in, and connecting it to your source and destination IFS Cloud environments.
none1. Prerequisites
Your organization has purchased IntelliAI and granted you access under its license. See iconiquetech.ai/products if your organization hasn't purchased IntelliAI yet.
A Microsoft account for your company email, the one your organization uses for IntelliAI.
A Microsoft Windows desktop with an internet connection.
The hostname of your source IFS Cloud environment (the one you extract data from)
The hostname of your destination IFS Cloud environment (the one you ingest data into)
The required IntelliAI component deployed in your source and destination IFS environments. Contact IntelliAI support to arrange deployment before you extract or ingest data.
An IAM client set up in both your source and destination IFS Cloud environments.
A new user must be added as a data migration user under Data Migration > Basic Data > Authorized Users with Update Allowed. Which is a one time setup.
The minimum required permission sets attached to your user: INTELLIMIG_EXTRACTION in your source environment, and INTELLIMIG_INGESTION in your destination environment.
Download the permission sets from here.
Required Permission Sets:
INTELLIMIG_EXTRACTION - End user role. Granted on the source instance to extract migration data.
INTELLIMIG_INGESTION - End user role. Granted on the target instance to ingest migration data.
INTELLIMIG_EXTRACT_FUNC - Functional role. Building only, never granted directly to a user.
IntelliAI has no other software prerequisites. The installer includes everything it needs to run. There's no product key or trial to set up: once your organization has granted you access, you sign in with your company email.
2. Set up an IFS Cloud IAM client
Before IntelliAI can sign in to an IFS Cloud environment, that environment needs an IAM client for IntelliAI to authenticate against. Set this up once for your source environment and once for your destination environment, since each is a separate IFS Cloud instance.
Log in to the IFS Cloud instance.
Navigate to Solution Manager > Access Control > Identity and Access Manager > IAM Client Details.
Create a new IAM client named IQ_intelliAI.
Turn on Client enabled.
Turn on Public client enabled.
Set the redirect URL to
http://localhost:59090/callback.
Repeat these steps in your other IFS Cloud environment, so both your source and destination have their own IQ_intelliAI IAM client.
3. Install IntelliAI
Get the IntelliAI MSI installer from your organization or iconiquetech.ai/products.
Run the MSI installer and follow the prompts.
Launch IntelliAI from the Start menu or desktop shortcut.
4. Sign in to IntelliAI
On launch, IntelliAI shows a Sign in to IntelliAI screen.
Select Sign in with Microsoft.
Complete the sign-in in your browser using your company's Microsoft account, then return to IntelliAI.
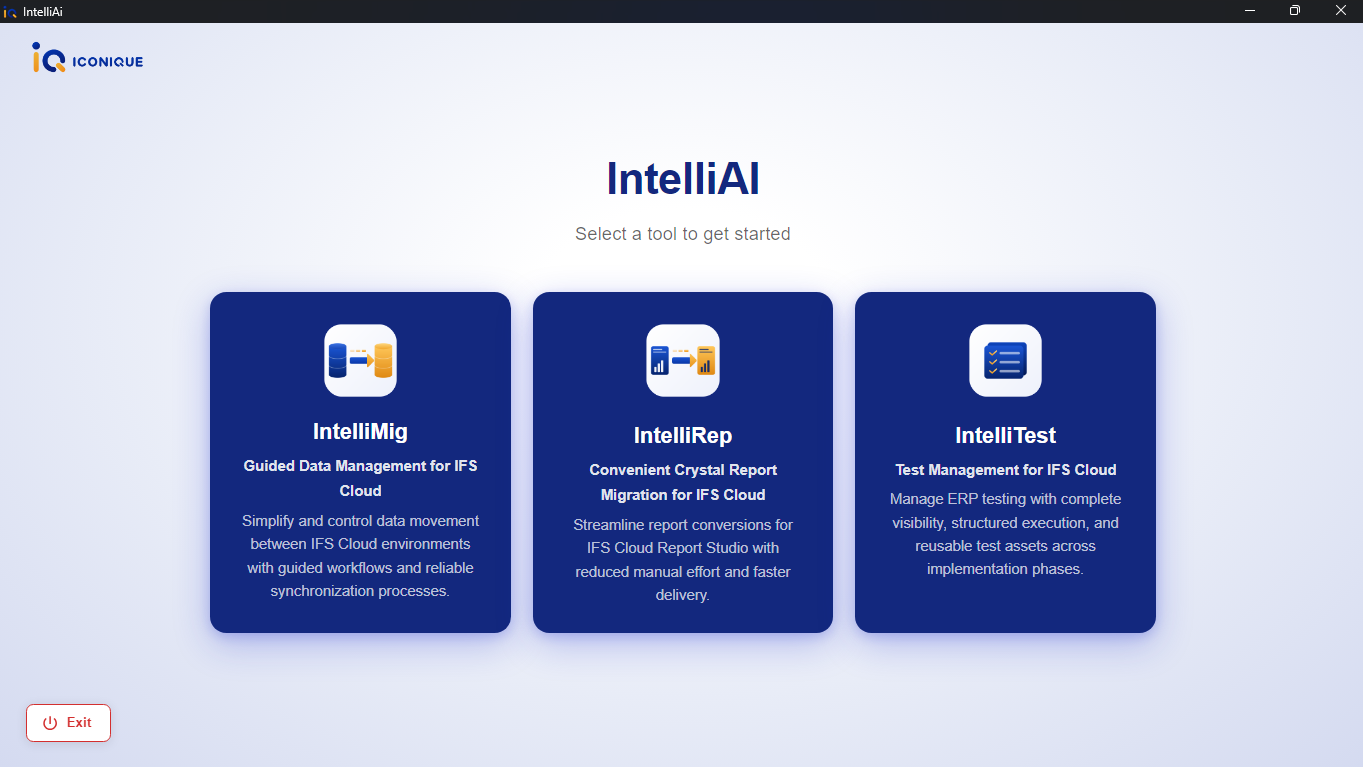
IntelliAI checks that your organization has a valid IntelliAI license and that you've been granted access under it. If both check out, IntelliAI opens to a landing page with a grid of tool cards. No further setup is required before you continue.
Next, sign in to your source and destination IFS Cloud environments.
5. The Landing Page
The landing page shows a card for each tool. IntelliMig is the tool this guide covers.
6. Sign-in and Access Errors
After signing in, IntelliAI may show a message instead of the landing page, depending on why access couldn't be confirmed:
No license for this account: your company hasn't licensed IntelliAI for this Microsoft account, or you signed in with the wrong account. Select Sign in with a different account if you have another company account, or contact your administrator to be granted access.
Your access has been removed: your administrator has removed your access.
Your company license has expired or has been revoked: contact your administrator to renew.
Cannot verify your license: IntelliAI couldn't reach the license server, for example because you're offline. Select Retry license check once you're back online.
For the other messages, once your access is fixed, select I've been added, check again to retry without signing in again.
7. When Your Company's License is Ending
As your company's IntelliAI license nears its end, IntelliAI shows a banner warning of the days remaining. You can keep working normally while this banner is shown. Ask your administrator to renew before it expires.
8. Exiting IntelliAI
Select Exit, available on the landing page and in the sidebar, to close IntelliAI. This signs you out of any active source or destination session and closes the app. There's no separate option to sign out of just one environment without closing IntelliAI.
9. Next Steps
Last updated 9/10/2026